Yoga Guide to the Warrior Poses
How to get into your Warriors and all the cues you could possibly want to make your Warrior poses feel great in your body!

Warrior I:
(Right Side) Facing forward, step your left foot back, and spiral down your left heel to the mat. Make sure the heel is further back than the toes, angling the foot at a 45 degree angle toes toward the front left corner of your mat. Separate the legs a bit so that the back left leg isn’t crossed behind your right leg. Ground down through the outer edge of your left foot so that you aren’t rolled into the arch, squeeze your left leg and engage the glute. Square your shoulders toward the front of the mat and bend into the right knee. Look down to make sure that your right knee isn’t shooting past your right ankle, you should be able to see your toes sticking out past the knee. Keep the knee stacked directly over the right ankle. Reach your straight arms up toward the sky, biceps framing the ears, and palms face in. Draw the belly button in and try not to flare the low ribs out. Square the hips toward the front of the mat as long as there’s no sharp shooting pain in the hips or left knee. Think about internally rotating, facing the hips and shoulders toward the front of the mat.

Warrior II:
(Right Side) From warrior I extend the right arm forward and the left arm back, arms parallel to the ground, palms face down. Widen the stance a little bit and open the torso to the left, so that hips and shoulders are externally rotated. Shoulders stacked directly over the hips. Keep the natural curve of the spine but draw the belly button in, engaging your abdomen. Drop the shoulders down and engage the muscles in the back to keep the arms floating. Bring the gaze forward out over the middle finger of the right hand and relax the forehead and jaw.

Humble Warrior:
From Warrior I, swing the arms around behind you and interlace the fingers at the low back. As you inhale, open the chest, rolling the shoulders back and start to fold forward. Keep the legs exactly as they are in your Warrior I with the front knee bent, and the back leg extended out long. Really plug into the back foot, grounding down through the outer edge, and fire the left glute. Keeping the hands in the bind (fingers interlocked), as you lower the upper body right inside of the right leg, reach your clasped hands up to the sky, stretching the shoulders. Allow the head to hang heavy, working the top of the head toward the mat.
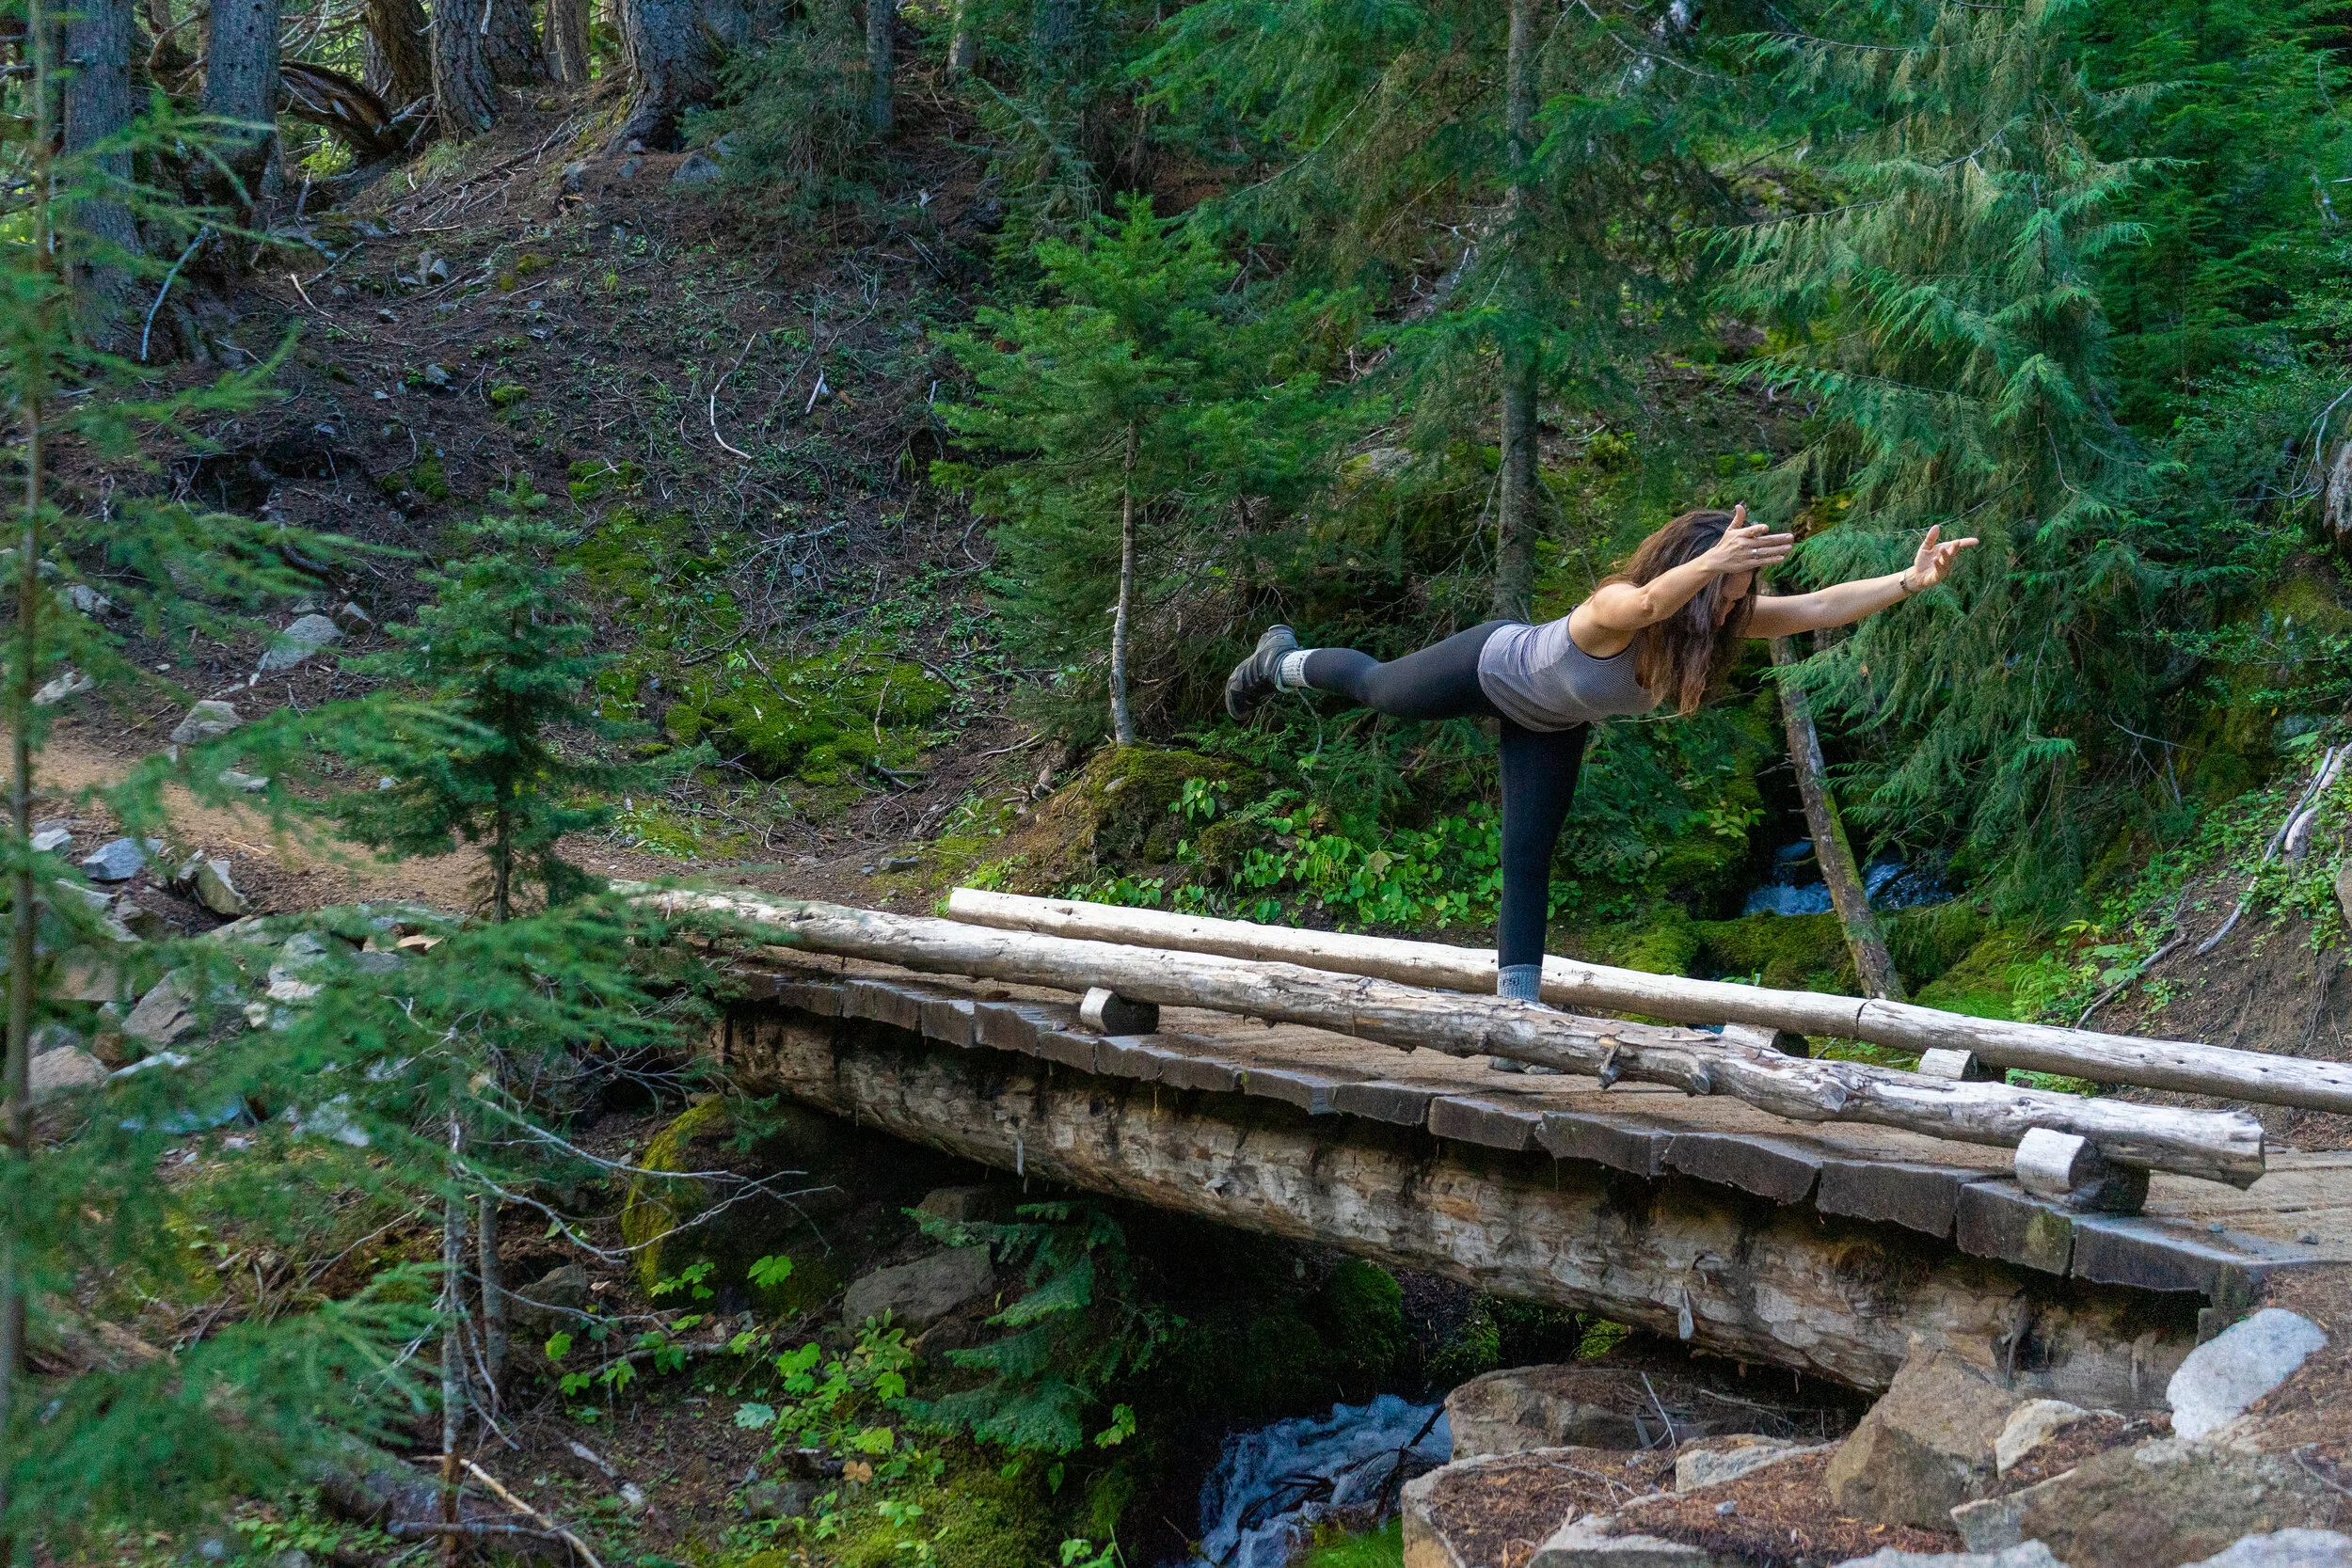
Warrior III:
From Warrior I, start to rotate your back left heel up to the sky. Rock the weight forward into your right foot, and start to bring the left foot in a bit closer to the right leg. Slowly start to lift the left heel up to the sky, keeping your left hip square in line with your right. Engage the muscles in your standing leg, and tilt the upper body forward, beginning to make a letter T shape with the body. Arms extend toward the front of the room, or can be modified at heart center, or back by your sides.

Reverse Warrior:
From Warrior II, flip your front palm up to the sky, keep the arm straight and start to reach the right hand up toward the sky. Lightly land the left hand on the left leg. Extend the right arm up to the sky, and as you deepen the side bend, maybe reaching the hand toward the back of the room (behind you). Stay engaged in the back left leg, active in the glute, and keep the right knee stacked directly over the right ankle.