Downward Facing Dog: Just a "basic" pose?
Downward facing dog is one of the most well known yoga poses, even among people who have never even stepped onto a yoga mat. What’s funny is that even though it looks simple, this pose is anything but basic.
We wanted to take a moment to breakdown the ins and outs of this pose to help start you on your yoga journey. Even though downward facing dog is technically a beginner pose, there’s actually a lot going on in the body. A theme in modern yoga is that yoga poses are simple and mirroring what you’ve seen in a picture can often lead to incorrect alignment, and potential injury after time.
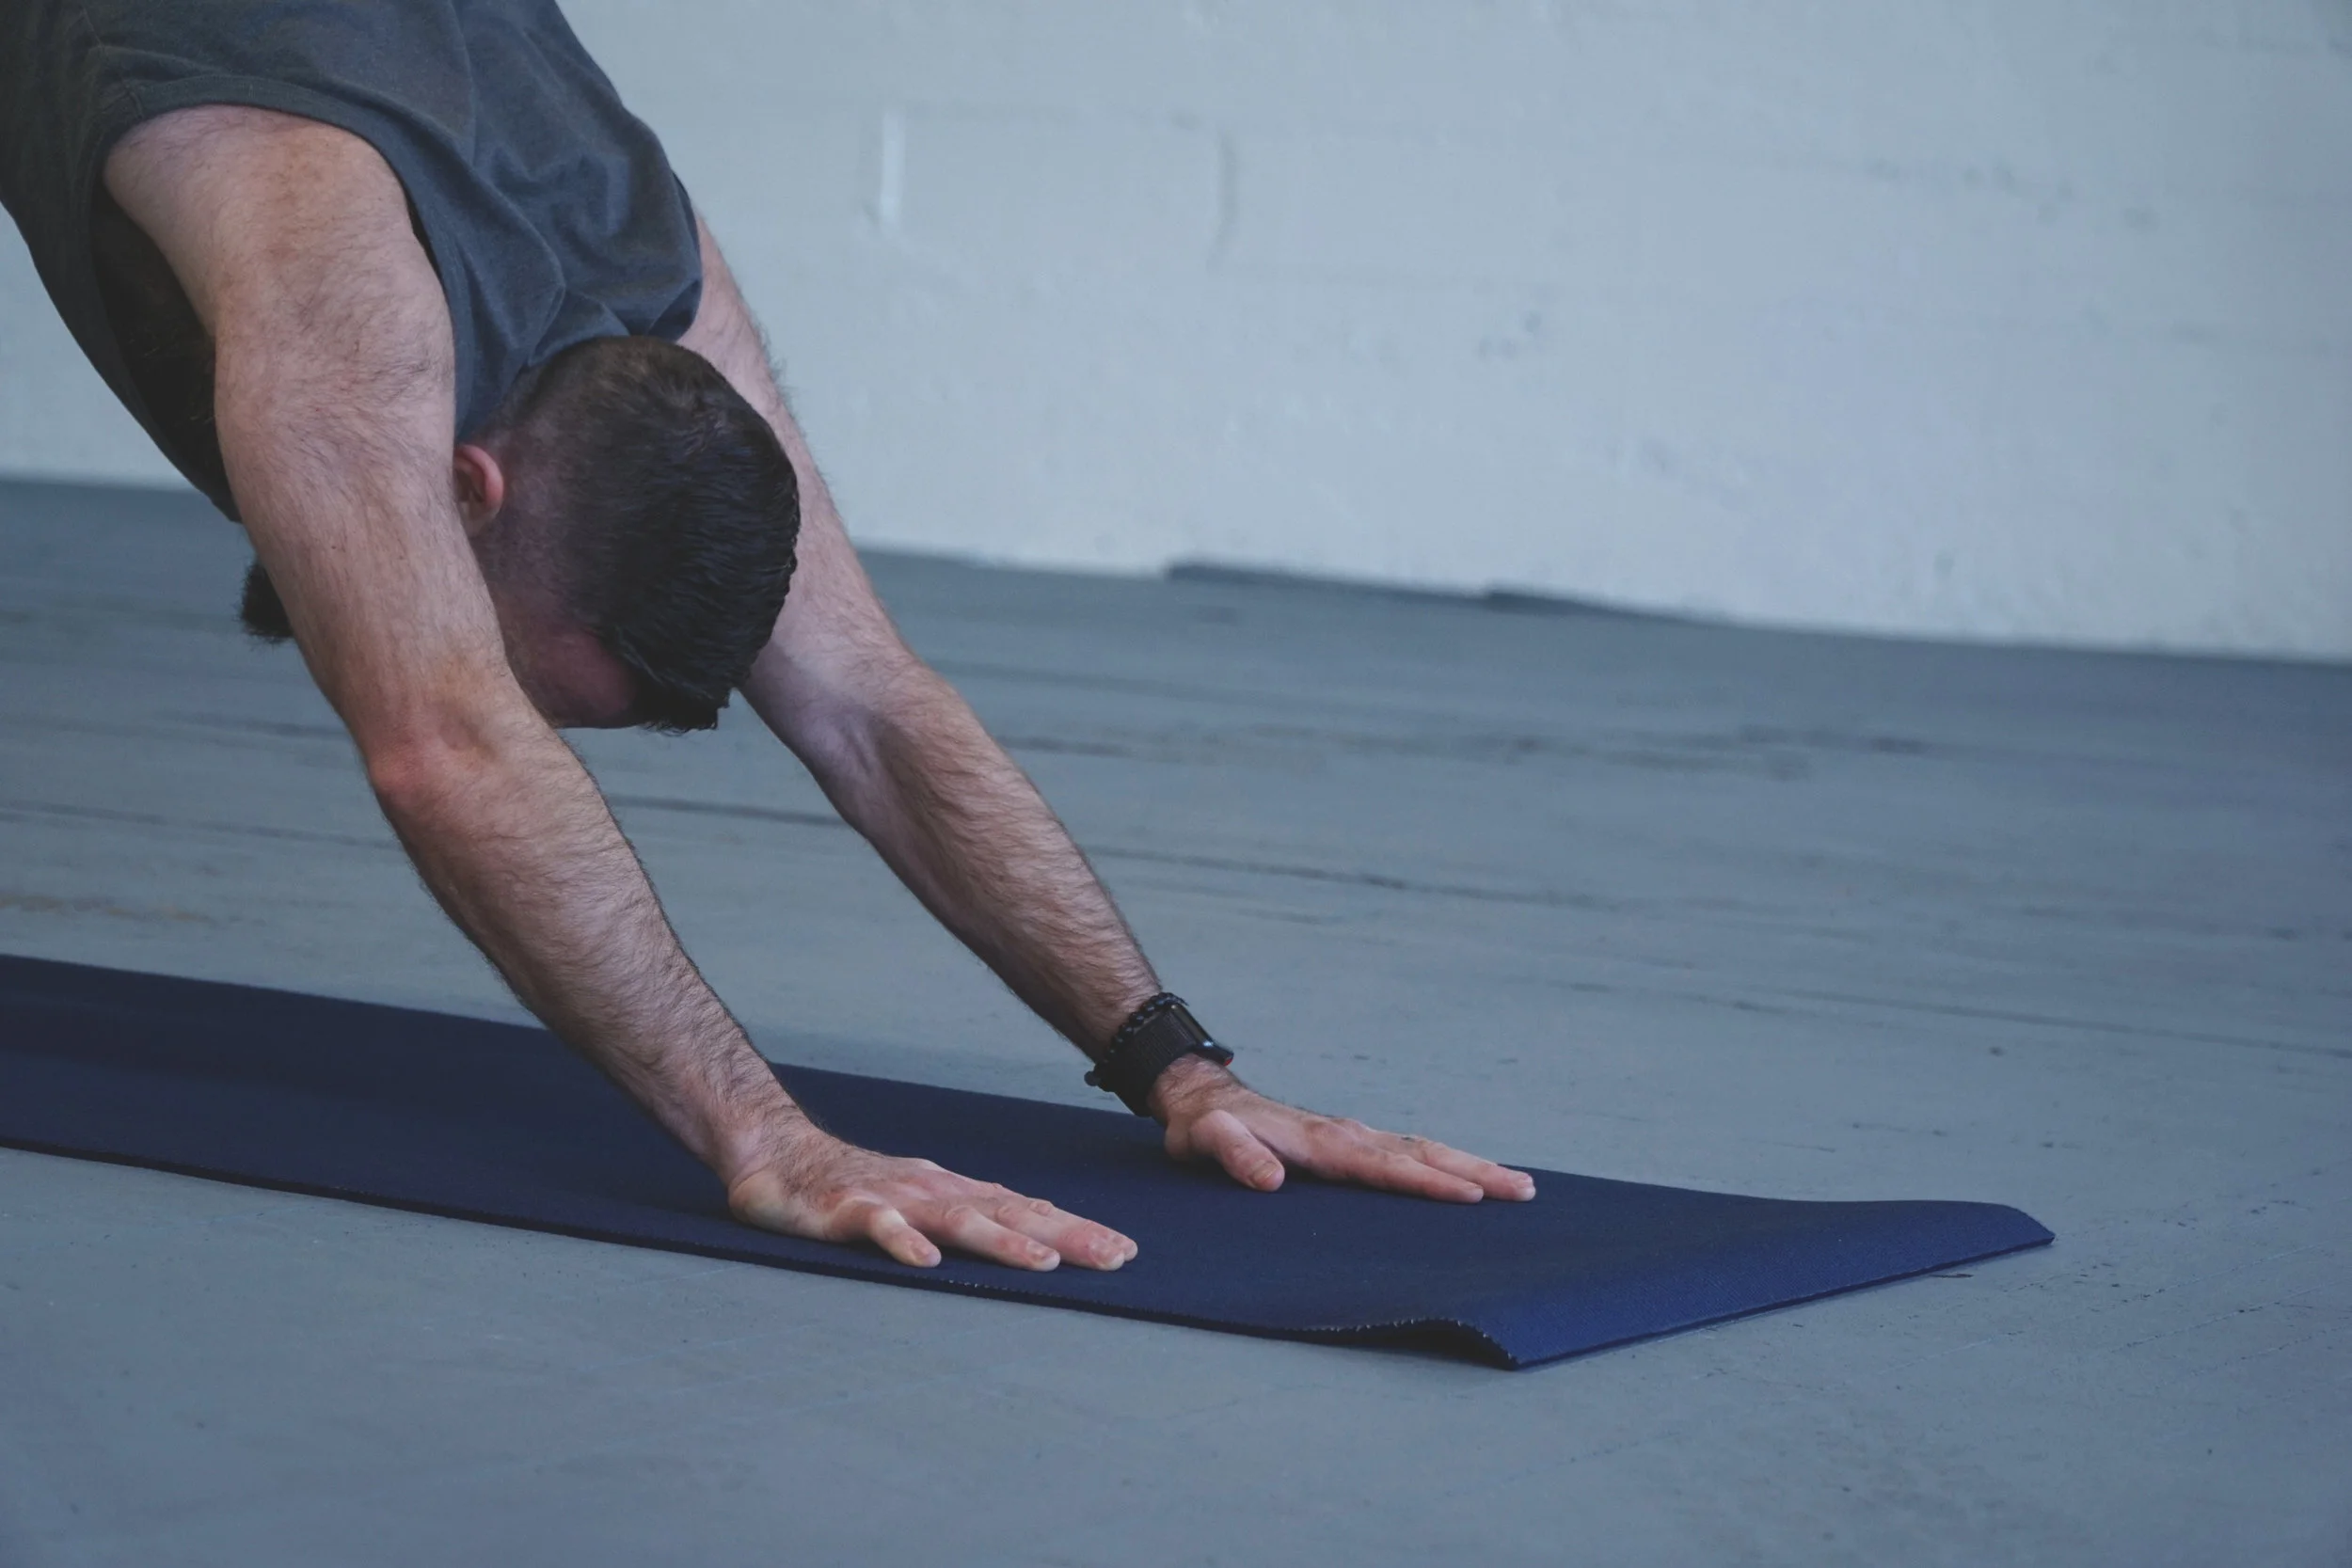
In Downward Facing Dog (Adho Mukha Svanasana in sanskrit) when viewed from the side, the body is in an upside down V shape, with the hands and feet on the ground, and the hips toward the sky. The first thing to think about in down dog is the hands. A tendency when beginning yoga is for the knuckles to pop up, leaving just the wrists and finger tips actually connected to the ground. Although this may seem easier at first, this creates to much pressure in the wrists, and can cause wrist fractures if not addressed properly. Instead, lay the entire hand flat on the ground, spread the fingers lightly and think about pushing your first and second knuckle mounds into the ground. Once that connection is strong, grip the fingers into the mat also, and create a bit of energy by slightly pushing the hands down and out. Wrist creases should stay parallel to the front of the mat. A good measurement for where the hands should be is about shoulder width distance apart. If you are super tight in the shoulders, your hands may be separated a bit further apart, to allow more space in the shoulders. Rotate your inner elbows so that they are facing in toward one another, creating engagement in the arms.
To figure out how far apart your hands and feet should be, you can start from a plank pose with the shoulders stacked over the wrists. From there, lift the hips up and back until you’ve created a straight line with the spine. A common misconception for down dog is that the legs need to be straight. We would argue that it’s way more important for the spine to be long than it is for the legs to be straight. Once the spine is long, then start to sink your heels toward the ground (you’ll feel this stretch in the calves), and lastly begin to straighten the legs, stopping when you feel the shoulders start to shift forward.
To add the final details, create space between the shoulders, and push away from the hands. Take a video or a picture of yourself from the side to make sure that you aren’t pushing the shoulders to far toward the ground, especially if you’re hypermobile through the shoulder area. Down dog is one of those poses that can be a bit uncomfortable at first, we recommend starting with just 10 breaths in the pose, then relax down to table top pose on the hands and knees to rest, before coming back into the pose. Eventually, it will start to feel nice! Let us know if you have any questions on this pose!